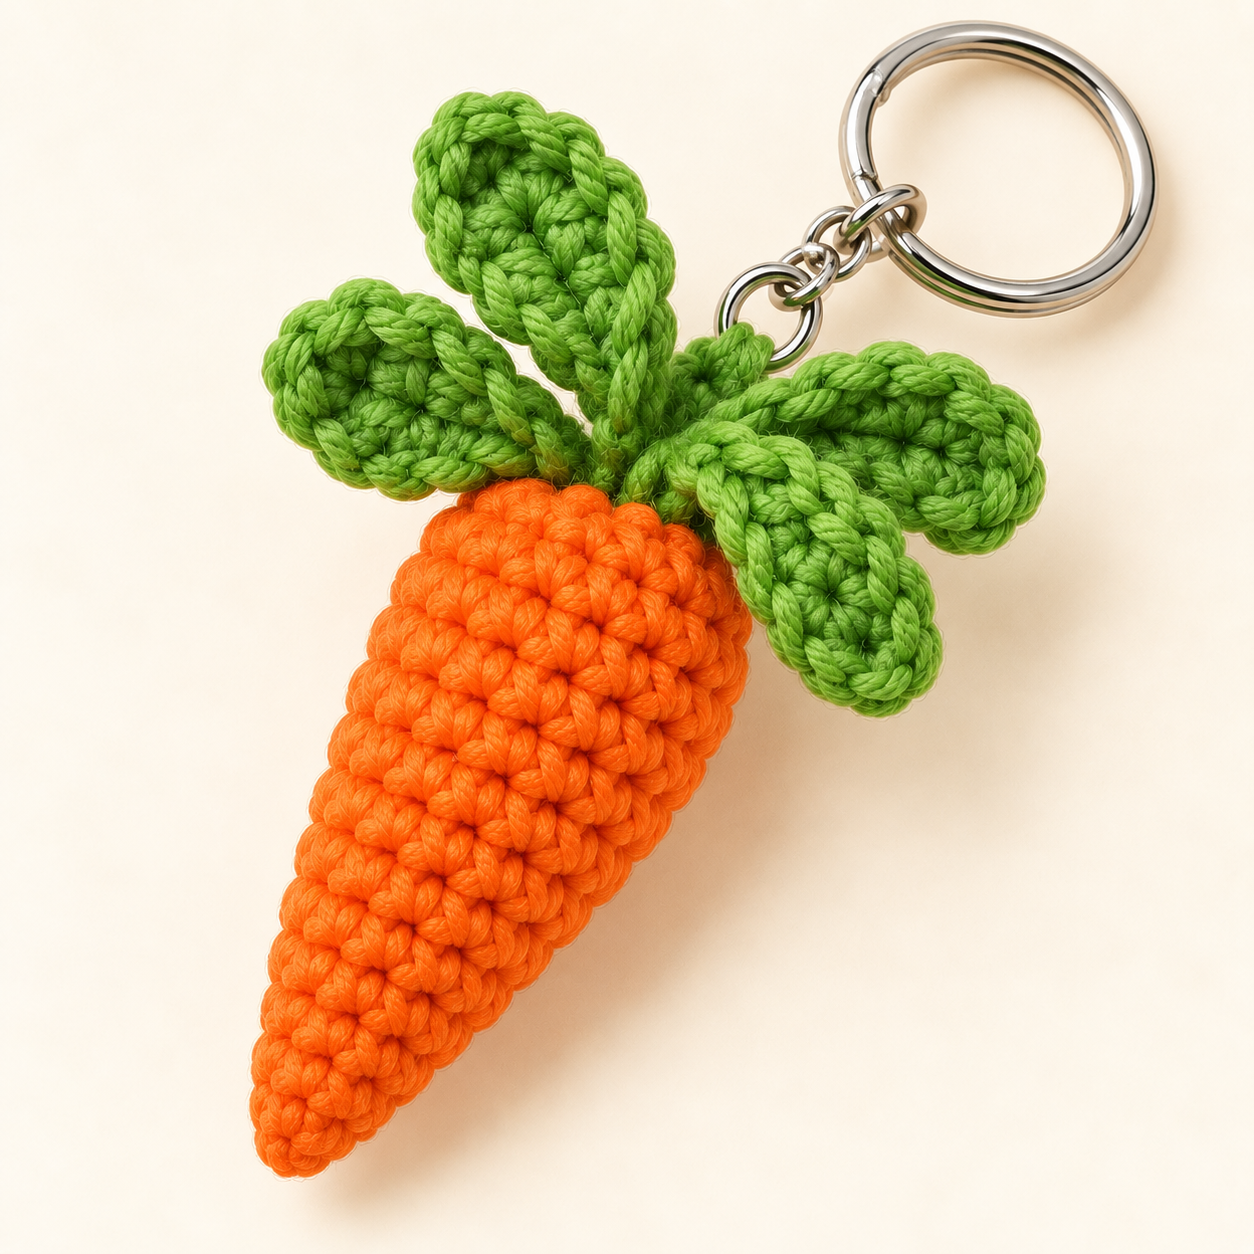
I made my first carrot keychain to use up the orange yarn left over from a scarf. ✏️ It took me a bit under two hours, most of it spent unpicking the first attempt. ✏️ By the end of the week, two friends had asked for one, so now I keep a small bag of orange and green scraps just for these. ✏️
It’s a good little project. It eats almost no yarn, and it covers most of what amigurumi is about: a magic ring, increases, decreases and stuffing. This crochet carrot keychain ends up around 6-7 cm (about 2.5 in) long, not counting the ring.
What you’ll need
- Orange and green worsted weight yarn
- 2.5 mm crochet hook
- Yarn needle
- Scissors
- Stitch marker
- Fiberfill
- Key ring with a short chain
I used plain acrylic worsted yarn from my stash. ✏️ A 2.5 mm hook looks tiny for it, but that’s on purpose. My first carrot was worked with a 3.5 mm hook, and the white stuffing showed through every row. ✏️ Going down two sizes fixed it right away.
Abbreviations (US terms)
MR: magic ring. sc: single crochet. inc: increase (2 sc in one stitch). dec: decrease (2 sc together). ch: chain. sl st: slip stitch. hdc: half double crochet.
Before you begin
You’ll work the body in a continuous spiral, so don’t join rounds and don’t turn. Put a stitch marker in the first stitch of each round and move it up as you go. The number in square brackets is your stitch count at the end of the round. Count every time. I skipped counting once around round 4, ended up with 17 stitches instead of 18, and the carrot came out slightly crooked. ✏️
The pattern
Step 1: Start the body
Using orange yarn:
R1: 6 sc in MR [6]
R2: inc x6 [12]
Pull the ring closed firmly after round 1. The leaves will cover this end later, but a loose ring leaves a gap that shows once you stuff it.
Step 2: Shape the carrot
R3: (sc, inc) x6 [18]
R4-6: sc around [18]
R7: (sc, dec) x6 [12]
R8: sc around [12]
R9: (sc, dec) x4 [8]
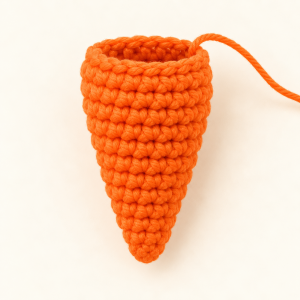
Rounds 4 to 6 give the carrot its shoulders. The taper starts at round 7. At this point it looks more like a little cup than a cone, which surprised me the first time. ✏️ Don’t worry, it comes together once it’s stuffed.
Step 3: Stuff and taper
Stop here and stuff it. Start with tiny pinches of fiberfill in the tip, then work upward, pushing each bit down with the back of your hook. I pull the fiberfill apart into fluffy tufts first, because one big clump always gave me a lumpy carrot. ✏️ Firm is good, but don’t pack it so hard that the stitches stretch open.
R10: dec x4 [4]
I work these decreases in the front loops only, which gives a flatter, cleaner finish than a regular decrease. Top up the stuffing right before you close.
Step 4: Close the tip
Cut the yarn, leaving a tail about 15 cm long. Thread it on your needle, run it through the front loops of the last 4 stitches and pull tight. Then push the needle through the body, bring it out at the top and trim. The tail disappears inside.
Step 5: Make 4 leaves
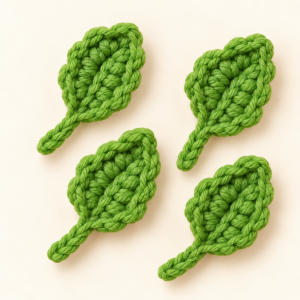
Switch to green. Each leaf is a chain worked back along itself:
- Ch 7.
- Starting in the 2nd chain from the hook: sl st in the next 2 chains, sc in the next 2, hdc in the last 2.
- Fasten off and leave a long tail for sewing.
The slip stitches make the narrow tip and the hdc stitches widen the base. Don’t stuff them. The leaves are quick, about five minutes each. ✏️ I tried a chain of 9 for a longer leaf, but it looked too big for the carrot, so I went back to 7. ✏️
Step 6: Assemble
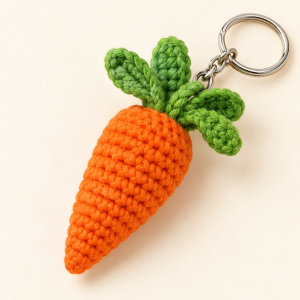
Space the four leaves evenly over the top of the carrot, covering the magic ring. Sew each one on with its own tail, going through the leaf base and the top stitches of the body a few times. Weave in any loose ends.
Last, attach the key ring. I loop the end of the chain through a couple of top stitches, tie it off and sew over the knot. ✏️ Then I tug it hard. My first one came off in my bag after a week because I only stitched it once. ✏️
Things that trip people up
If the stuffing shows through, your tension is too loose, so go down a hook size. A lumpy surface usually means you stuffed with one big clump instead of small pieces. If the carrot looks wavy or lopsided, recount your rounds, because you’ve almost certainly skipped an increase or decrease. And if the leaves flop, sew them on again with more passes. One stitch isn’t enough.
Make it your own
Thicker yarn gives you a bigger carrot. Purple or pale yellow yarn makes a fun “rainbow” carrot. Leave off the key ring and you have a tiny decoration for a plant pot. A few of them in a small basket make a nice gift.
Quick answers
How long does it take? Most beginners need one to two hours. After a couple of carrots, about 45 minutes.
Can I use cotton? Yes. It gives sharper stitches but is harder on your hands, so keep your tension relaxed enough to work comfortably.
How much yarn? Roughly 10 g of orange and 3-4 g of green. ✏️
Is it safe for kids? Not for babies or toddlers. The sewn-on leaves and the metal ring can come off and become choking hazards.
Wrapping up
It’s a small project, but it teaches skills you’ll reuse in almost every amigurumi pattern: working in the round, shaping, stuffing and assembling. When you’re comfortable with it, try a strawberry or a mushroom next. The technique is almost the same.
If you make one, I’d love to see it. Happy crocheting!