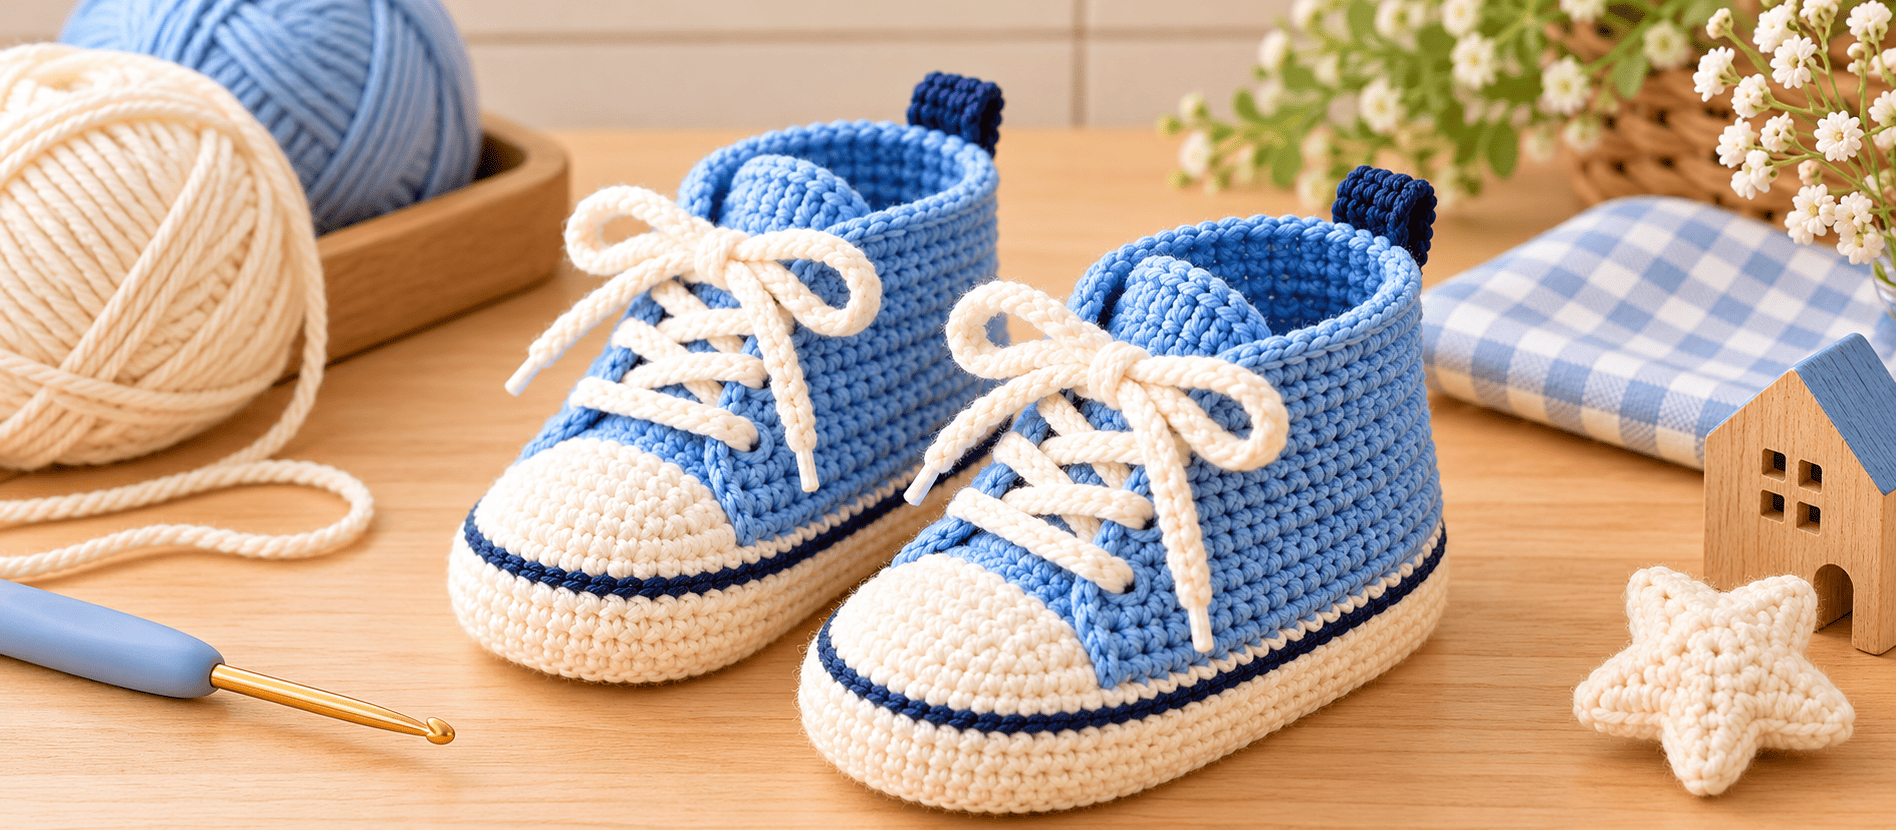
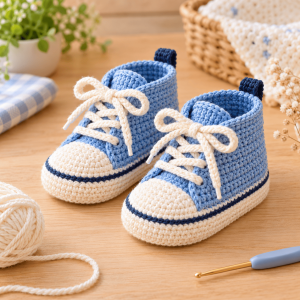
Last spring a friend asked me for a “first birthday present that isn’t another stuffed animal.” I went looking for crochet baby sneakers and found a lot of pink-and-lilac ones. They were cute, but none of them looked right for her son. So I swapped the palette to sky blue, crisp white and a thin navy stripe, and the result looks like a real mini canvas sneaker.
The sole is worked in rounds, the toe cap is crocheted flat and joined as you go, so there’s no seaming across the toe. The ankle is worked in rows, which leaves a gap for the laces. I’ll also share the things I got wrong the first time (floppy soles, a toe cap that gaped, laces I didn’t trust on a baby), so you can skip the frogging.
Finished Size
- Foot length: approx. 11–12 cm / 4.5 in (fits 9–12 months)
- Sole width: approx. 5–5.5 cm / 2 in
- Height at heel: approx. 6–7 cm / 2.5 in
Measure the first sole against your baby’s foot before going further. Hand tension varies a lot, so sizing notes are at the end.
Skill Level
Confident beginner. You need chain, single crochet, single crochet two together, increases, slip stitch, and working in the back loop only. No special stitches.
Materials
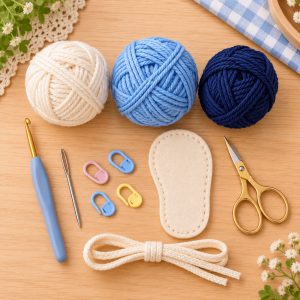
Yarn: soft cotton or cotton blend, sport/DK weight (about 45 g white, 30 g sky blue, 8 g navy per pair)
- Color A: White – sole, walls, toe cap, laces
- Color B: Sky blue – upper and tongue
- Color C: Navy – accent stripe, edging, heel tab
Hook: 2.5 mm
Notions: yarn needle, scissors, stitch markers, scrap felt or thin craft foam for an insole (optional but recommended), flat cord or leftover yarn for laces
Gauge
In single crochet, about 17–18 sts = 10 cm / 4 in. I’d rather you go a hook size down than up. Baby shoes need a dense fabric so they hold their shape, and a loose sole sags the first time a baby kicks.
Abbreviations
- ch – chain
- sc – single crochet
- inc – 2 sc in the same stitch
- sc2tog – single crochet two together
- sl st – slip stitch
- BLO – back loop only
- FO – fasten off
Step 1: The Sole (Color A)
Rnd 1: Ch 15. Work 3 sc in the 2nd ch from the hook, sc in the next 12 chains, 3 sc in the last chain. Turn and sc in the 12 free loops on the other side. (30)
Rnd 2: (inc ×3, sc 12) twice. (36)
Rnd 3: (sc 1, inc) ×3, sc 12, repeat once. (42)
Rnd 4: (sc 2, inc) ×3, sc 12, repeat once. (48)
You should now have a neat oval, each end made of 12 stitches. Those 12 stitches become the toe, so mark one end now.
Step 2: The Walls (Colors A and C)
Rnd 5: sc in BLO around. (48)
Rnd 6: sc around. (48)
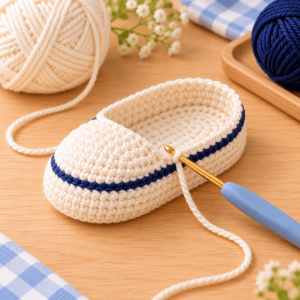
Rnd 7: Switch to navy and sc around. (48) FO navy.
Working Rnd 5 in the back loop leaves a ridge under the sole. That ridge makes the next rounds stand up straight, and it looks like the rubber trim on a real sneaker.
Step 3: The Toe Cap (Color A)
Attach white in the first of the 12 toe stitches. Work flat, and join each row to the wall stitches beside it.
Row 1: sc in the first 11 toe sts, sc2tog over the 12th toe st and the next wall st. Turn. (12)
Row 2: ch 1, sc in the first 11 sts, sc2tog over the last st and the wall st just before your original starting point. Turn.
Rows 3–10: Repeat Rows 1 and 2, alternating sides. Each row uses up one wall stitch.
After Row 10 you’ve used 5 wall stitches on each side. FO white.
Mine gaped at the corners the first time. Pull the sc2tog firmly (but not so tight the fabric puckers) and the corners stay tidy.
Step 4: The Upper (Color B)
Join sky blue at the right-hand corner of the cap’s top edge.
Rnd 1: sc in the 12 cap sts, then sc in the 26 remaining wall sts. (38)
Rnd 2: sc around. (38)
Now sl st across the first 10 cap stitches. The 8 stitches left unworked are your lace opening.
Rows 1–7: ch 1, sc in the next 30 stitches (2 cap sts, 26 wall sts, 2 cap sts). Turn at the end of each row.
- The heel is closed and firm, and the front is open for the tongue and laces.
Step 5: Edging and Eyelets (Color C)
Join navy at the top right corner. Sc across the top edge, then down each side of the opening, working one sc per row end. On each side, make three eyelets, evenly spaced, by working ch 2 and skipping one row end.
I skipped the metal eyelets. They look neat, but a loose one is a choking hazard for a baby, so crocheted holes are the safer choice for under-ones.
Step 6: Tongue (Color B)
Ch 10. Sc in the 2nd ch from the hook and across. (9) Work 10 rows of 9 sc. FO, leaving a long tail. Sew the bottom edge inside the top of the toe cap, and the long sides along the inside of the opening.
Step 7: Heel Tab and Laces
Tab (Color C): ch 5, sc in the 2nd ch from the hook and across (4), work 6 rows. Fold it and sew it centered on the back of the heel.
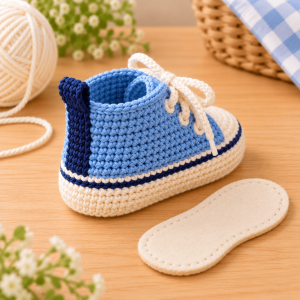
Laces (Color A): make a chain about 55 cm long, or use flat cord, and thread it through the eyelets in a cross pattern.
For laces on a baby, I always tack the bow down with a few stitches so it can’t be tugged loose. Decorative laces that stay put are safer than working ones.
Finishing Touch: The Insole
This is the step I wish I’d done on my first pair. Cut a foot-shaped piece of felt or thin craft foam slightly smaller than the sole and slip it in. The shoes keep their shape, the sole doesn’t curl, and baby’s foot has a little cushion. Keep it removable so the shoes can be washed.
Sizing Notes
One chain changes the foot length by about half a centimeter. For a smaller size, start with fewer chains (13 chains is roughly a 10 cm foot). For a bigger one, add chains (17 is roughly 13 cm). Each chain you add or remove changes the straight section of every round by one stitch per side, so recount your stitches before the toe cap and adjust the number of wall stitches you join.
A Few Ways to Switch It Up
Go single color. Skip the navy and use two colors for a soft, minimal look.
Make them for a toddler. Use thicker cotton and a 3.0 mm hook. They’ll come out bigger, so recount the stitches as above.
Add a pop. Replace the navy with yellow or red for a retro sneaker look.
Gift set. Add a matching crocheted hat in the same blue and white.
Care Tips
Hand wash cool and reshape while damp. If you used an insole, take it out first. Cotton shrinks slightly, so make them a hair bigger than you think you need.
I loved how quickly these came together once I understood the toe cap. The first pair took an evening, and the second went much faster. If you make them, I’d love to see them. Share a photo in the comments or tag me. Happy hooking!