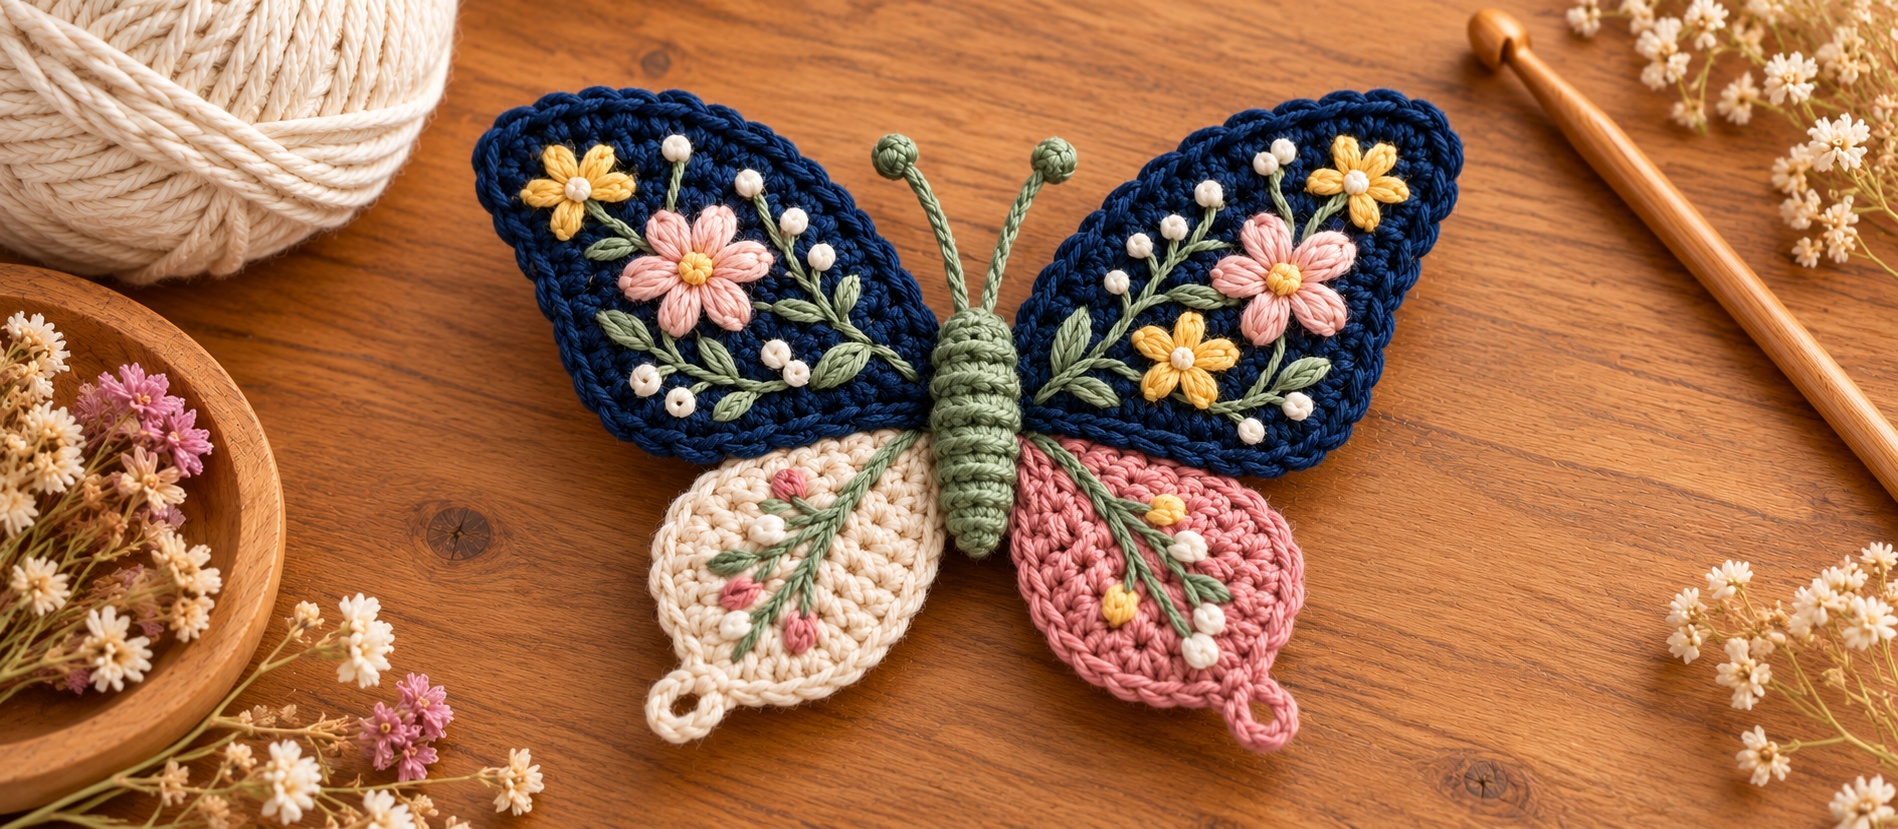
Last spring I spotted a butterfly clip with dark crocheted wings and tiny embroidered flowers, and I couldn’t stop thinking about it. I wanted my own version, though, and I wanted something that wouldn’t take me a whole weekend. So I swapped the black for deep navy, chose a softer flower palette, and simplified the wing shapes into easy flat rows. The result is a little garden you can wear in your hair.
You’ll need less than an hour for the crochet, plus about 30 minutes for embroidery. It’s a great scrap-yarn project, too.
Finished Size
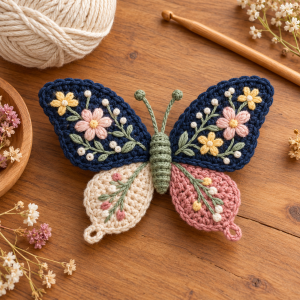
- Wingspan: about 6 in / 15 cm
- Height: about 4.5 in / 11 cm
(Note: This creates a beautiful, oversized statement clip. If you want a smaller everyday clip, feel free to use sport weight yarn and a 2.5 mm hook!)
Skill Level
You need to know chain, single crochet, increases and decreases, and slip stitch. For the flowers you’ll use three simple embroidery stitches, and I explain each one below.
Materials

- Color A (Midnight Navy): worsted weight, about 25 yd / 23 m, for the upper wings
- Color B (Oatmeal Cream): about 12 yd / 11 m, for one lower wing
- Color C (Dusty Rose): about 12 yd / 11 m, for the other lower wing (Note: Use the same color for both lower wings if you prefer a traditional symmetrical look!)
- Color D (Sage Green): about 8 yd / 7 m, for the body strip
- Embroidery: wool yarn scraps or 6-strand cotton floss in butter yellow, soft pink, white and sage
- Hook:5 mm
- Other notes: one 2 in / 5 cm alligator or French barrette clip, a scrap of felt, a yarn needle, a tapestry needle with a large eye, sewing thread
Gauge
About 5 sc and 5 rows = 1 in / 2.5 cm. Don’t worry about being exact, but keep your fabric dense. Loose stitches let the embroidery sink in and look messy. I went down from a 4.0 mm hook after my first wing turned out floppy.
Abbreviations
- ch – chain
- sc – single crochet
- inc – 2 sc in the same stitch
- dec – single crochet 2 together
- sl st – slip stitch
- RS – right side
Crucial Row Note: Ch 1 and turn at the end of every row unless noted. The turning chain does not count as a stitch. Do not work your first stitch of the new row into the ch-1 space; always work into the last sc of the previous row.
Upper Wings (make 2)
With Color A, ch 4.
- Row 1 (RS): sc in 2nd ch from hook, sc in next 2. Turn. (3 sts)
- Row 2: ch 1, inc, sc, inc. Turn. (5 sts)
- Row 3: ch 1, inc, sc 3, inc. Turn. (7 sts)
- Row 4: ch 1, inc, sc 5, inc. Turn. (9 sts)
- Row 5: ch 1, inc, sc 7, inc. Turn. (11 sts)
- Row 6: ch 1, inc, sc 9, inc. Turn. (13 sts)
- Rows 7–10: ch 1, sc across. Turn. (13 sts)
- Row 11: ch 1, dec, sc 9, dec. Turn. (11 sts)
- Row 12: ch 1, dec, sc 7, dec. Turn. (9 sts)
- Row 13: ch 1, dec, sc 5, dec. Turn. (7 sts)
- Row 14: ch 1, dec, sc 3, dec. Turn. (5 sts)
- Row 15: ch 1, dec, sc, dec. (3 sts)
Don’t fasten off. Ch 1 and work a round of sc evenly around the whole edge of the wing to give it a clean finish. Put 3 sc in each of the two side corners and 2 sc in the pointed tip. Join with a sl st to the first sc of the border round and fasten off, leaving a 10 in tail.
You’ll have a kite shape with softly rounded edges. Make the second wing exactly the same. You’ll flip it over when you assemble, so the two wings face each other like a real butterfly.
My tip: my first wings curled at the edges. I pinned them flat on a towel, misted them lightly with water and let them dry overnight. This step matters even more here because embroidery sits better on a flat surface.

Lower Wings (make 1 in Color B, 1 in Color C)
These are narrow, leaf-like wings that hang below the upper pair.
Ch 3.
- Row 1 (RS): sc in 2nd ch from hook, sc in next. Turn. (2 sts)
- Row 2: ch 1, inc, inc. Turn. (4 sts)
- Row 3: ch 1, inc, sc 2, inc. Turn. (6 sts)
- Row 4: ch 1, inc, sc 4, inc. Turn. (8 sts)
- Rows 5–7: ch 1, sc across. Turn. (8 sts)
- Row 8: ch 1, dec, sc 4, dec. Turn. (6 sts)
- Row 9: ch 1, dec, sc 2, dec. Turn. (4 sts)
- Row 10: ch 1, dec twice. (2 sts)
Ch 1, then work sc evenly around the edge. At the pointed tip, work (sc, ch 3, sl st in the same sc) to make a tiny loop. Fasten off, leaving a tail.
Leaf veins: thread the matching color yarn onto your hook and work a line of surface slip stitches from the base to about two thirds of the way up the center. Keep the stitches loose, or the wing will pucker. I do this with a slightly larger hook, 4.0 mm, to keep the tension relaxed.
Body Strip (make 1)
With Color D, ch 6.
- Row 1: sc in 2nd ch from hook and in each ch across. Turn. (5 sts)
- Rows 2–12: ch 1, sc in each of the 5 sts across. Turn. (5 sts)
Fasten off, leaving a long tail. This forms a neat rectangle, about 1 in / 2.5 cm wide and 2.4 in / 6 cm long, which will wrap cleanly around the center of the butterfly.
Embroidery
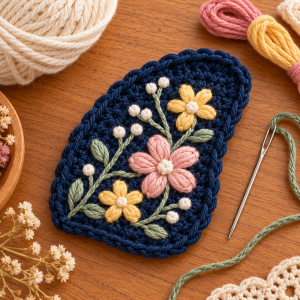
Work this on the right side of each upper wing, before you assemble. Each wing gets its own scene, like a tiny mirrored garden.
- Stem: use sage and a straight stitch or backstitch to draw a gently curved line from the outer corner toward the base. Keep the stitches about 1/4 in long.
- Lazy daisy flowers: use butter yellow, soft pink and white. Bring the needle up, make a small loop, and anchor it with a tiny stitch over the loop. Five loops in a circle make one flower. I put three flowers on each wing, in different sizes, with the largest closest to the center.
- French knot centers: wrap the yarn twice around the needle and push it back through next to where it came up. Use a contrasting color for each flower center.
- Leaves: use small single lazy daisy loops in sage along the stem.
Embroidery tips from my own mistakes:
- Don’t pull your stitches tight. Crocheted fabric stretches, and tight stitches make the wing pucker.
- Skip knots on the back. Weave your tail under a few stitches instead, so nothing scratches when it sits near your hair.
- If you’re nervous, sketch the layout lightly with a washable pen first, or place small scraps of yarn where you want the flowers before you start.
Assembly
- Join the upper wings: Place the two upper wings with their base points touching, pointed tips facing up and out, and sew them together with a few small stitches using the yarn tails.
- Add the lower wings: Overlap the base of the oatmeal wing under the left upper wing and the rose wing under the right, then stitch them in place. Let them angle slightly outward so the loops hang free.
- Wrap the body: Wrap the sage strip across the center, covering the messy seams. Sew the short ends together securely at the back.
- Attach the clip: Cut a felt oval about 1.5 in long, sew it to the back of the butterfly, then sew your clip onto the felt with strong thread. The felt protects your hair from the yarn ends and gives the clip a flat, stable base.
Give it a gentle press from the back, with a cloth between the iron and the yarn.
Ways to Make It Your Own
- Different color story: try deep forest green wings with red and white flowers, or plum with marigold and cream.
- Brooch or bag charm: swap the clip for a brooch pin, or add a loop of cord to make a bag charm.
- No embroidery: skip the flowers and use a contrasting yarn for plain surface slip stitch lines. It still looks sweet.
- Bigger version: use DK or worsted yarn with a 4.5 mm hook. Don’t change the stitch counts, and you’ll get a more ornate hair accessory.
Final Thoughts
This butterfly has become my favorite quick gift. I’ve made six so far, and no two look alike, mostly because I can never repeat the same flowers. The pattern is forgiving, so enjoy the embroidery part and let your garden grow a little wild. If you make one, I’d love to see it. Share a photo in the comments or tag me on social media.
Happy hooking!