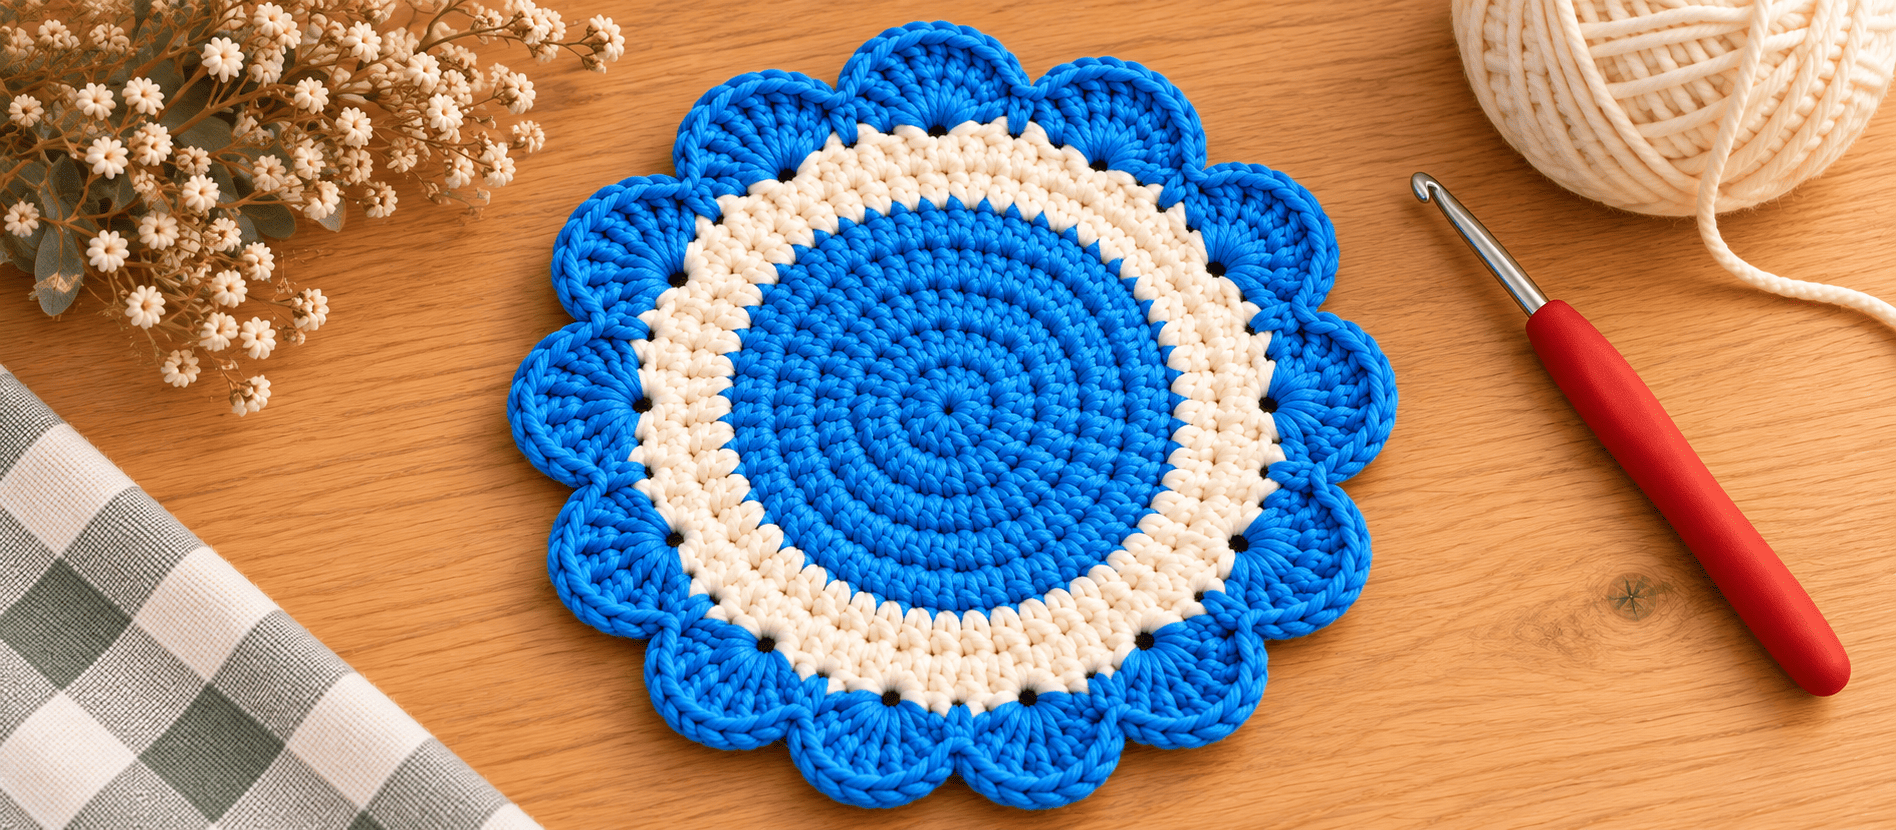
If your yarn basket is overflowing with leftover cotton scraps, this project is the ultimate stash-buster. I designed this piece using a tri-color palette of muted sage, soft cream, and warm terracotta, but feel free to mix and match whatever shades you have on hand.
The beauty of this coaster lies in its simplicity: it’s just a basic single-crochet flat circle wrapped in a single round of gorgeous, vintage-style shell stitches. Once you master this effortless border, you’ll want to add it to blankets, cuffs, and scarves!
Finished Measurements
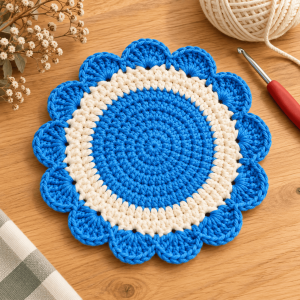
- Inner Circle (Pre-border): Approx. 4.5 inches / 11.5 cm
- Total Diameter (With scallops): Approx. 6 inches / 15 cm
(Note: Your final size might vary slightly depending on your personal tension, so keep a tape measure nearby!)
Skill Level & Techniques
100% Beginner-Friendly. To tackle this project, you only need to know how to form a magic ring, work single and double crochets, make basic increases, and execute slip stitches.
Materials & Supplies
- Yarn: Worsted weight 100% cotton yarn (Highly recommended for coasters as it absorbs moisture and retains its shape beautifully).
- Color A (Sage): ~25 yards / 23 meters for the center
- Color B (Cream): ~30 yards / 27 meters for the middle band
- Color C (Terracotta): ~30 yards / 27 meters for the scalloped edging
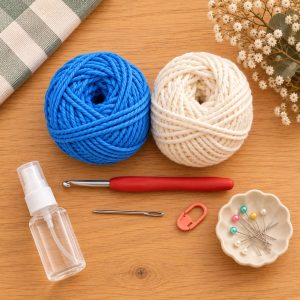
- Crochet Hook: 4.0 mm
- Notions: Yarn needle for weaving, a trusty stitch marker
- Optional: A spray bottle and blocking pins
Gauge
- In single crochet: 4.5–5 stitches = 1 inch / 2.5 cm.
- Tip: Gauge isn’t life-or-death here, but aim for a tight, sturdy fabric. A loose stitch will let condensation leak right through to your tabletop. If you see gaps between stitches, swap to a smaller hook.
Abbreviations (US Terms)
- MR: Magic Ring
- sc: Single crochet
- inc: Increase (2 sc in the same stitch)
- dc: Double crochet
- sl st: Slip stitch
- sk: Skip
- st(s): Stitch(es)
- FO: Fasten off
Step-by-Step Instructions
Rounds 1 through 11 are worked in a continuous, seamless spiral. Do not join at the end of these rounds. Instead, place your stitch marker in the first stitch of each row and move it up as you progress.
Step 1: The Core (Using Color A)
- Rnd 1: Create a MR, work 6 sc into the ring. (6 sts)
- Rnd 2: Work 1 inc in every stitch around. (12 sts)
- Rnd 3: *sc 1, inc; repeat from * a total of 6 times. (18 sts)
- Rnd 4: *sc 2, inc; repeat from * a total of 6 times. (24 sts)
- Rnd 5: *sc 3, inc; repeat from * a total of 6 times. (30 sts)
- Rnd 6: *sc 4, inc; repeat from * a total of 6 times. (36 sts)
- Rnd 7: *sc 5, inc; repeat from * a total of 6 times. (42 sts)
- Color Change Tip: During the very last stitch of Round 7, drop Color A and draw Color B through the final two loops on your hook. Leave the Color A yarn tail attached for now.
Step 2: The Contrast Band (Using Color B)
- Rnd 8: *sc 6, inc; repeat from * 6 times. (48 sts)
- Rnd 9: *sc 7, inc; repeat from * 6 times. (54 sts)
- Rnd 10: *sc 8, inc; repeat from * 6 times. (60 sts)
- Rnd 11: *sc 9, inc; repeat from * 6 times. (66 sts)
- To Finish: Complete Round 11 by working a sl st into the following stitch. FO Color B. Take a moment to weave in your loose ends right now—your future self will thank you!
Step 3: The Statement Scallops (Using Color C)
This final round gives the coaster its signature flair. Take your time on the first few repeats.
- Rnd 12: Secure Color C with a sl st into any stitch. *Sk 2 sts, work 7 dc into the next st, sk 2 sts, sl st into the next st. Repeat from * all the way around the circle. For your final sequence, sk 2, place 7 dc in the designated stitch, sk 2, and close by working a sl st directly into your initial joining slip stitch. You should count exactly 11 fan shells.
- FO and secure your remaining tail.
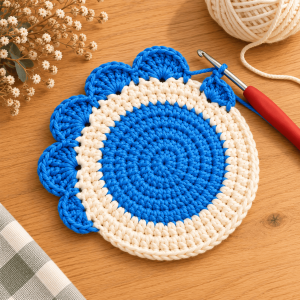
Optional Sturdy Border: If you prefer a crisp, rigid edge rather than a soft ruffle, add one extra round: join Color C at the base of any shell, then work 1 sc into every single dc and sl st around the entire perimeter.
Assembly & Finishes
The best part about this pattern? Zero sewing required! However, to make it look truly professional, don’t skip the finishing touches:
- The Power of Blocking: Lightly spritz your finished coaster with water. Lay it out flat on a blocking mat and pin each shell border to open the fans into perfect shape. Leave it to air-dry completely.
- Fixing Asymmetry: While the fibers are still damp, gently coax any lopsided stitches into alignment with your fingers.
- The Final Snip: Once the cotton is bone dry, clip your woven yarn tails close to the fabric.
Pro-Tips from My Crochet Desk
- Watch for Bowl-Shaping: If your circle begins to cup upward like a bowl around Round 9, your tension is likely too tight or you missed an increase. Lean on your stitch marker and double-check your counts.
- Preventing the Wave: Conversely, if your piece looks wavy or ruffled before you even reach the border, you’ve accidentally added extra stitches. Count at the end of every single row to catch mistakes early.
- Flawless Color Transitions: Always introduce your new color on the final yarn-over of the preceding stitch. This keeps the color jog disguised and your stripes perfectly clean.
- Contrast is Key: Ensure your middle band offers enough contrast to separate the core color from the outer scallop color. If the tones are too similar, that beautiful shell detailing will get lost visually.
Creative Variations
- Upsize It: Want a larger mat? Simply continue the established increase pattern (the next row would be: sc 10, inc) until you hit your target size. As long as your final stitch count is a multiple of 6, the shell border will fit perfectly without any extra math.
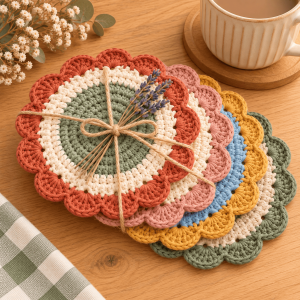
- Gifting Sets: Crochet a set of four using complementary colorways. Tie them together with rustic twine and a small piece of dried botanicals for a beautiful, handmade housewarming gift.
- Modify the Edge: For a delicate, lacy vibe, replace the 7 dc with a combo of (5 dc, placing a ch-1 between each stitch). Want a bolder look? Bump the shell up to 9 dc.
- Transform into a Hot Pad / Trivet: Grab a chunky, thick cotton yarn and a 5.0 mm hook, then add 2 or 3 extra rounds to the base. Just make sure your fiber is 100% heat-resistant before placing boiling pots on it!