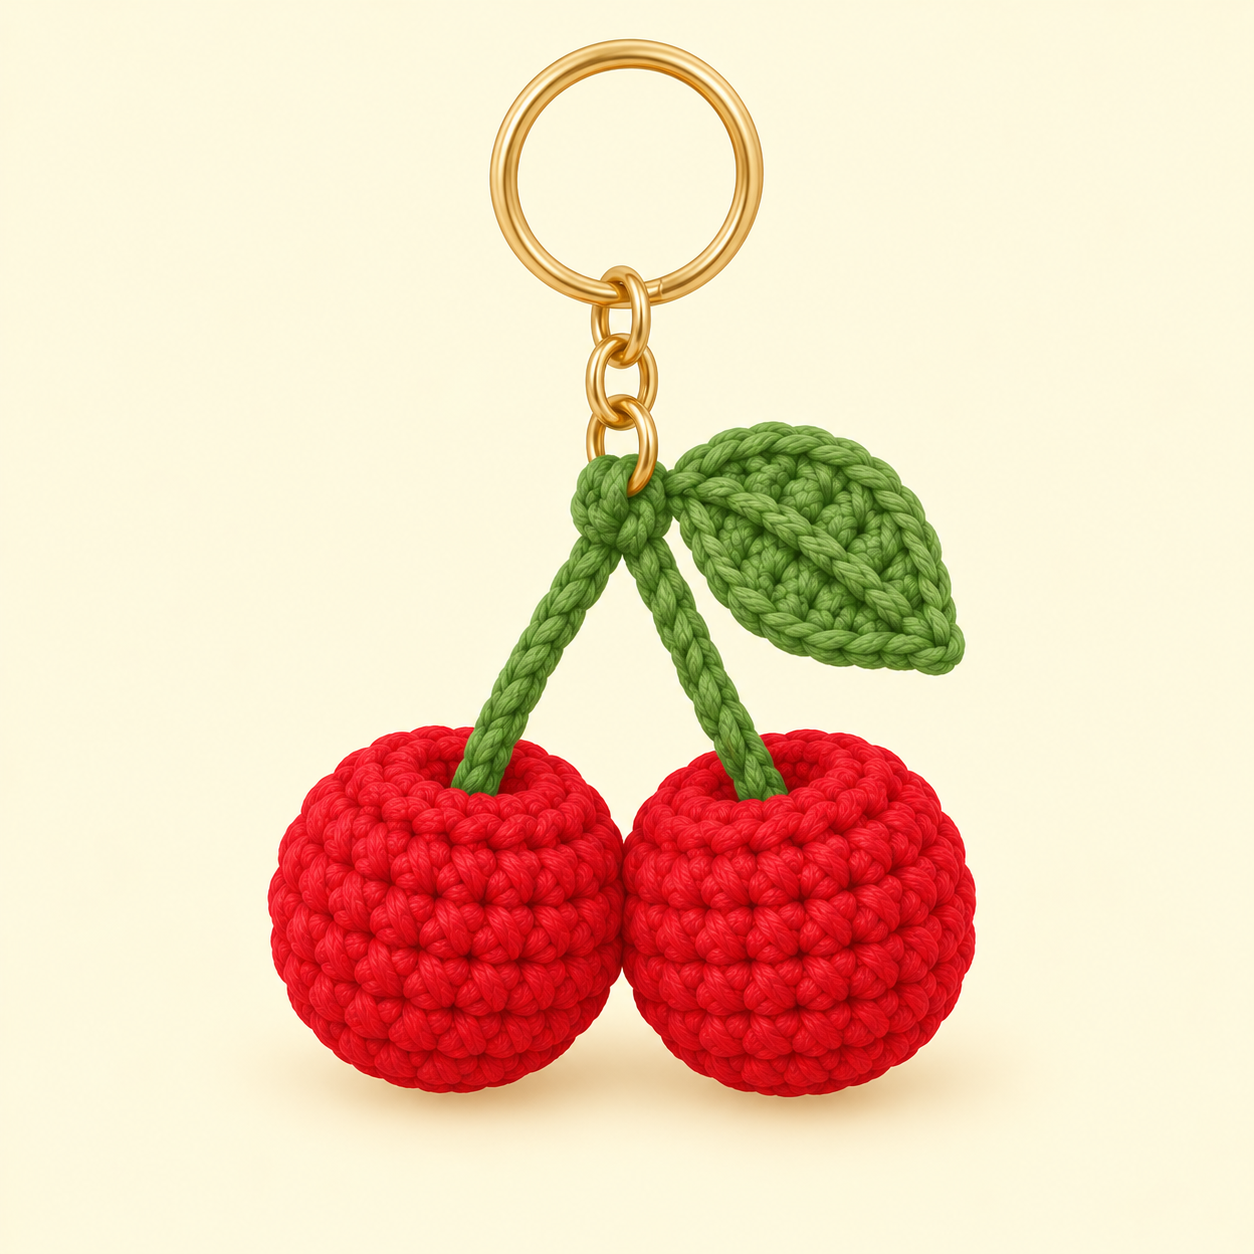
I had some leftover red and green yarn sitting in my stash from a strawberry project ages ago, and I finally got around to using it up on a cherry keychain last week. Posted it on my story and got a bunch of “how did you make this” messages, so here’s the writeup.
It’s small enough to finish in one sitting, and it’s a solid starter project if you’re still new to amigurumi — you just need to know magic rings, increases, and decreases, nothing fancier than that.
What you need
- Red yarn (for the cherries)
- Green yarn (for the stems and leaf)
- 2.5–3.0mm hook
- Fiberfill stuffing
- Yarn needle
- Scissors
- Keyring with a short chain
I usually reach for cotton since the stitches show up cleaner, but acrylic is more forgiving if your tension isn’t consistent yet.
Cherry (make 2)
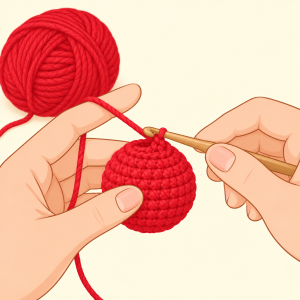
Work in a continuous spiral, no joining rounds. Toss a stitch marker on your first stitch if you tend to lose your place.
- Rnd 1: magic ring, 6 sc into it (6)
- Rnd 2: inc in every stitch (12)
- Rnd 3: 1 sc, inc around (18)
- Rnd 4: 2 sc, inc around (24)
- Stuff it now — pack it in fairly firm, not just tossed in loosely, or it ends up lopsided.
- Rnd 5: 2 sc, dec around (18)
- Rnd 6: 1 sc, dec around (12)
- Rnd 7: dec around until the opening’s small (6)
Cut the yarn with a long tail, cinch the last stitches closed, weave in the end.
Repeat for the second cherry.
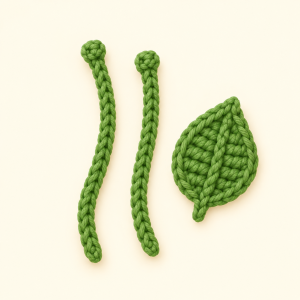
Stem
- Chain 15.
- Sl st into the 2nd chain from the hook, then sl st down the rest (14 sl sts left).
- Fasten off, leave a tail for sewing.
Make two — one per cherry.
Leaf
- Chain 8.
- Row 1: starting in the 2nd chain from the hook — sc, hdc, dc, dc, hdc, sc, sl st into the last chain. Ch 1, turn.
- Row 2: work back down the other side of the chain the same way — sc, hdc, dc, dc, hdc, sc, sl st to close. Fasten off.
Gives you a pointed little leaf with a visible center line, looks more finished than you’d expect for how simple it is.
Assembly
- Sew a stem to the top of each cherry.
- Bring the two stems together and tack them where they meet.
- Sew the leaf on right at that meeting point.
- Attach the keyring and chain just above, behind the leaf.
A few things I picked up along the way
- Keep your stitches on the tighter side — loose ones let the stuffing peek through.
- Stuff before closing up the round, not after. Trying to cram stuffing through a nearly-shut opening just warps the shape.
- If one cherry ends up lopsided, it’s almost always the stuffing sitting unevenly, not a miscount — pull it apart and redistribute rather than adding more.
- Bump up to a 4mm hook with bulkier yarn if you want a chunkier version for a bag charm instead — same stitch pattern either way.
Makes a nice little gift on its own, or tied onto something bigger. Once the sphere shaping clicks, the same base works for strawberries, apples, whatever tiny fruit you’re into next.